

Workstation Setup |

|

|

|

|
||
Workstation Setup |
|
|
|

|

|
Workstation Setup |
|
|
|
|
||
Workstation Setup |
|
|
|
|
|
|
|
||
To install a workstation (client PC) perform the following steps:
•Open the file explorer on your Workstation
•Open the installation folder on the server - default folder is ...programs\CTI Data Connector for Salesforce
•Start Setup.exe on your Workstation
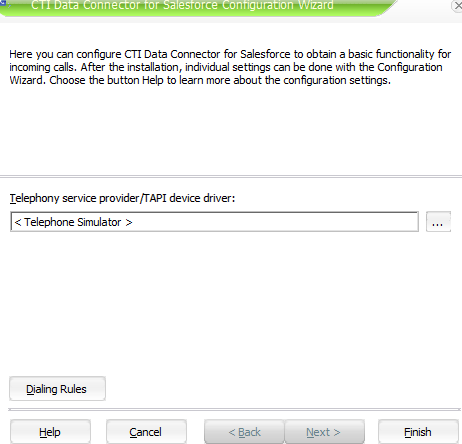
•Make the Minimum Configuration Settings - use the button Help to get detail information about the configuration options
All settings which have been defined by the administrator are automatically applied. For details see: Distribute Client Setup.
During installation DLLs are registered. The user who installs the application needs a right to register DLLs.
The user who runs the application needs the following rights on the installation folder on the server:
•Files cdcsfe.xml and cdcsfe.lic: read and write access
•All other files: read access
![]() Each PC (not user) needs a CTI license.
Each PC (not user) needs a CTI license.
In case Internet Explorer is used, you should push the the necessary settings through a group policy to all users. See Internet Explorer.
CTI Data Connector for Salesforce supports a silent setup without any user interaction. Only at the end of the setup the user has to select his TAPI device driver. If Microsoft .NET needs to be installed, there will always be a license agreement dialog, which has to be confirmed.
Start the silent setup with: setup.exe /exenoui INSTALLTYPE="/S"
By default, the icon is not visible on Vista and Windows 7 in the notification area. To show the icon  for CTI Data Connector for Salesforce in the system tray, click on the up arrow. Click on Customize.
![]()
This will open the Notification Area Icons control panel item. Select the icon for CTI Data Connector for Salesforce and in the pick list select: Show icon and notification.
![]()
Additionally add the red salesforce icon ![]()
See also
Network Installation - general information
