
All-In-One Protector 8
To secure a CHM file (help file) the Windows viewer for this file - hh.exe is used. By default, every Windows system should have this file installed.
There are 3 steps to protect the CHM file:
Step 1 - Copy the hh.exe viewer
Copy the viewer for the chm file, the file hh.exe from c:\windows to your project folder where you saved the CHM file.
 The hh.exe from a Vista machine will not run on XP but the version from XP will run on Vista machines. If you want to support NT you have to make tests which hh.exe will run on all operating systems.
It is not in the liability of Mirage if you may distribute this file or not.
Step 2 - Copy the start application
To run with All-In-One Protector, a special start application is needed. Copy the file startchm.exe and the configuration file chm.ini from the All-In-One Protector installation folder ...\tools\chm to your project folder where you saved the CHM file.
Now add the name of your chmfile in the chm.ini file. You can use any text editor to modify this file.
[Filename]
chmfile=test.chm (change the name here)
The folder contains now all files which are:
•hh.exe
•startchm.exe and chm.ini
•your chm file

Directory with chm files and other files to import
Step 3- Import the files
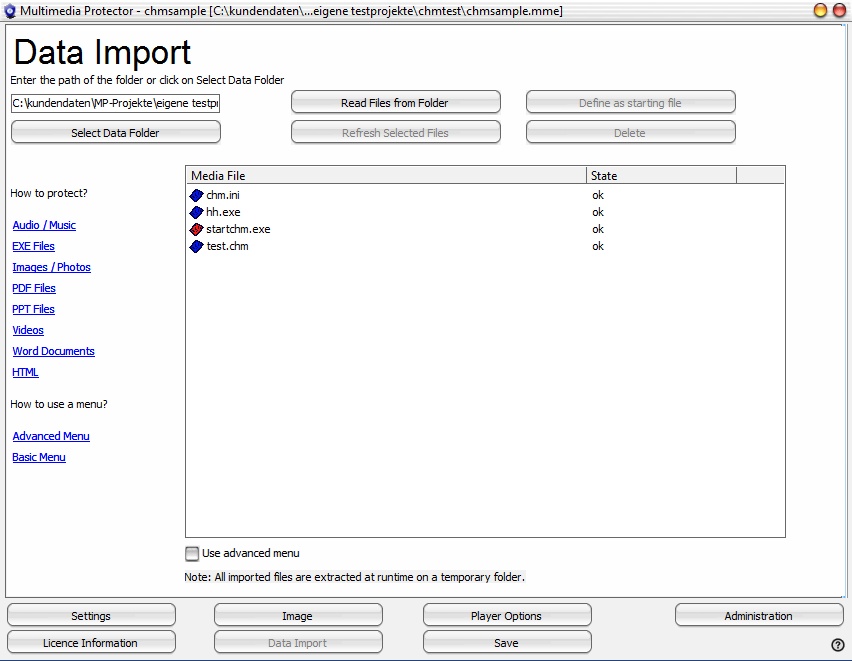
Now import all the files from the project folder you created and mark startchm.exe as startfile using the button Define as starting file. A red icon signals the start file.
The import screen would show the following files.
Step 4 - configure EXE options
The following EXE options are mandatory for CHM protection
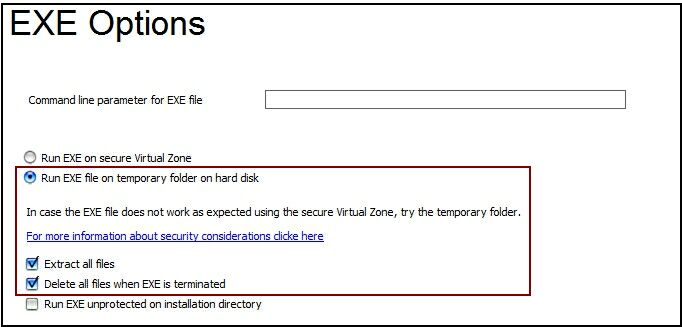
All all options of CHM files are supported but with the limitation of the EXE protection.

